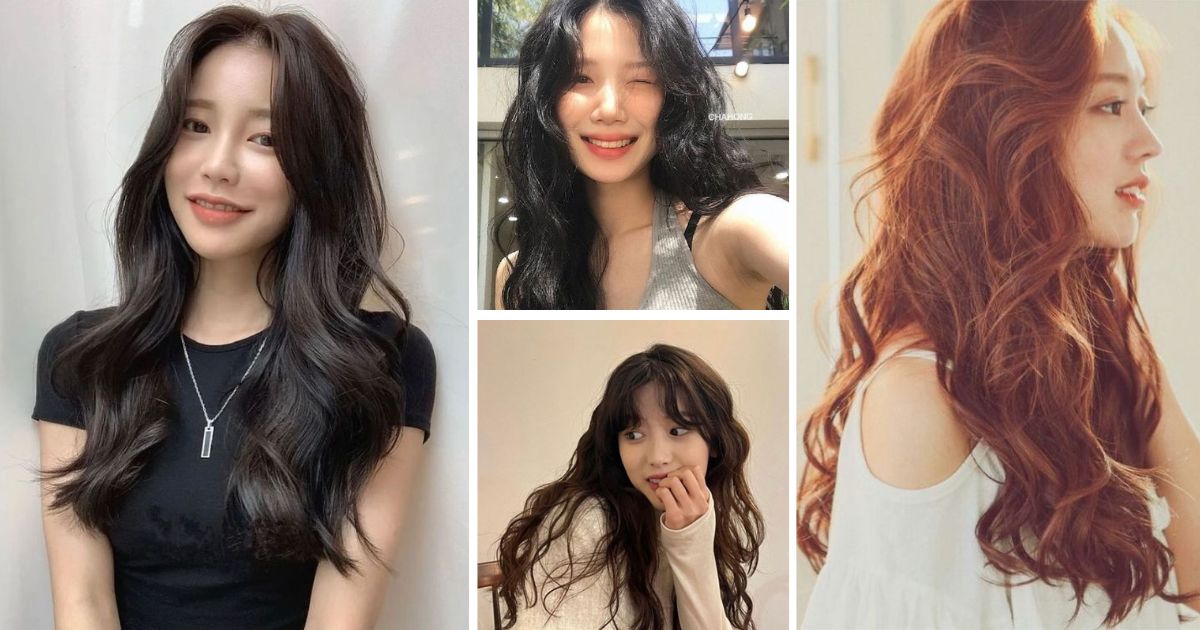
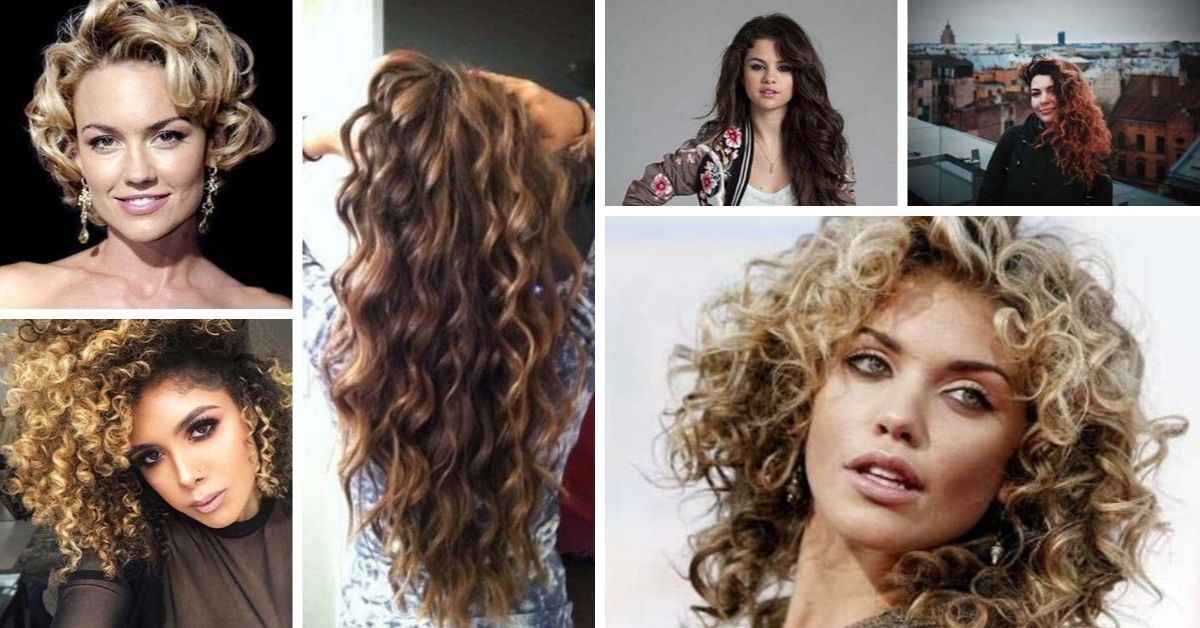
Asian hair is relatively straight than African hair and Caucasian hair. However, this isn’t the case for all Asians; some have naturally curly or wavy hair.
Although there isn’t enough scientific research to explain the straight tresses in Asian hair, the main reason could be evolution and genetics.

A known fact is that Asian hair is more robust than Caucasian hair and, thus, can withstand chemical dyes and heat tools damage easily.
The stability and strength of Asian hair make it the perfect candidate for perms.
Asian perms, also known as hot perms, originated from Asia and can further be differentiated into Japanese perms and Korean perms.
Korean perms result in thicker, more defined, and voluminous curls, while Japanese perms produce lighter curls and natural waves.
You can buy numerous perm kits for making Asian perms, but they usually have the same application process.
First, you’ll require a perm solution (waving lotion).
Waving lotions are either acidic or alkaline; you must pick one suitable for your hair type.
An alkaline solution will work best on Asian hair. An acid-based solution might not be able to break down the bonds in Asian hair, making your perm lose the curls after a few weeks.
Now, let’s get right to it!
1-st Step Prepare your hair for curling
via Skin Veteran
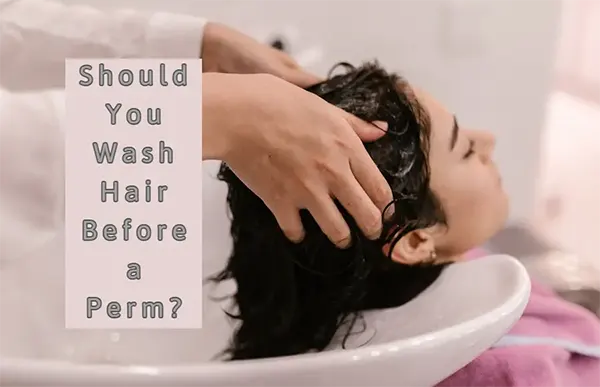
Wash your hair with a clarifying or pre-perm shampoo, then brush it. Ensure your hair is free from dirt, oil, and buildup before starting the perming process; it should be sparkling clean!
It would be best if you didn’t let your hair dry completely. Use a t-shirt or microfiber towel to wrap it and keep it damp.
2-nd Step Divide your hair into separate sections
via Wiki How
This step will ease the process for you.
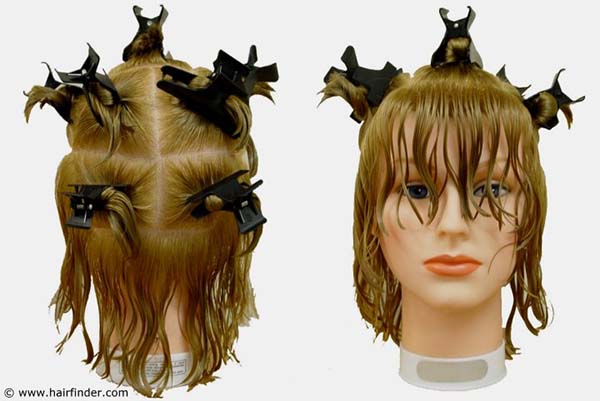
Make a partition on the right, middle, and left side. Separate these into three separate buns to make the work of wrapping hair pieces onto perm rods easy.
Put a piece of perm paper on top of a small section of hair from one of the sections, then fold the paper around the ends of the hair.
Take a perming rod and wrap your hair from the ends to the roots around it.
Repeat the process with all the hair in the partitioned sections.
Lastly, protect your skin from the perming solution by placing a large cotton coil around your hair’s edge from ear to ear.
3-rd Step Prepare your perm solution of choice
via My Hair Dressers
Have a towel and some gloves at hand for this step.
Refer to the waving lotion or perm solution instructions to determine whether the lotion should be used directly from the container or if the solutions can be mixed.
You must follow the instructions while mixing the perm solution.
4-th Step Apply the perm solution evenly to sections of hair
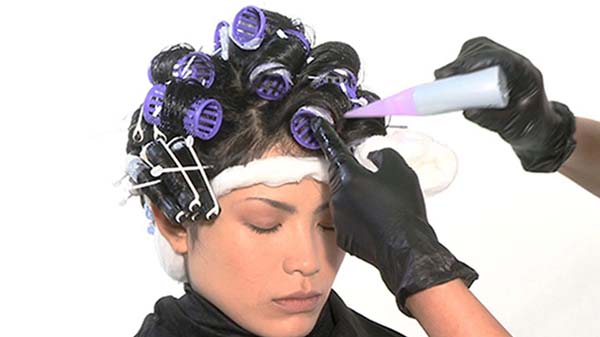
Puncture a small hole in the bottle cap to maximize the waving lotion’s distribution.
Use slow, circular motions to apply the solution onto each rod, ensuring any areas aren’t missed, and each rod is covered carefully.
Allow the product to sit on the hair for about five minutes before unraveling one rod to check if it has formed an s curl. Let the solution sit for about three minutes longer if it hasn’t. Ensure you check every two minutes to see if the curl has formed.
You shouldn’t wait for the whole fifteen minutes before checking, and the time shouldn’t exceed than recommended. The process is complete if you notice an s curl has formed after 5 – 10 minutes.
Rinse your hair while the rods are still in it for around three minutes once you are happy with the curls.
5-th Step Apply the neutralizer carefully
via Hair Finder
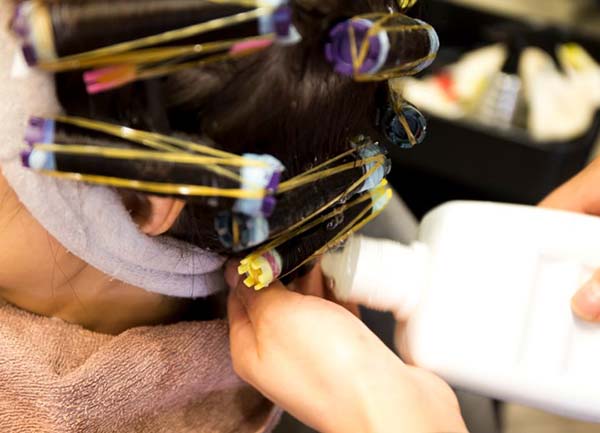
Similar to the waving lotion, prick the tip of the neutralizer bottle cap and use similar circular motions to apply the lotion. Ensure you follow the instructions that have indicated the wait time.
Rinse off the neutralizer for about three minutes.
6-th Step Dry Your Hair And Remove Rods
via Beauty Sider
Your curls are now almost ready!
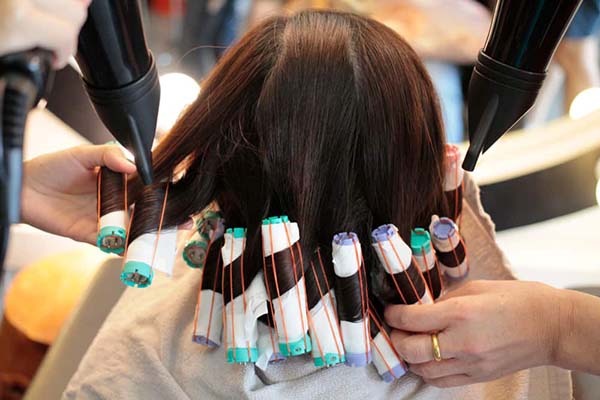
Allow your hair to dry naturally, but you can also use a blow dryer if you are in a hurry. Ensure the blow dryer doesn’t use excessively high heat since your hair is fragile in this state.
Once your hair is dry, take out the perm rods and run your fingers through it, and viola! You have permed hair!
Wait for at least 36 – 48 hours before rewashing your hair; don’t style, brush, or comb your hair for about a week.
When sleeping, use a satin or silk scarf to protect your curls from the pillow’s friction.
Recommendations for curling Asian hair

The following tips will help you attain the best home perming treatment for Asia
- Ensure your hair is clarified before perming.
- Use detoxing or pre-perm shampoo before perming.
- Use a normal-strength alkaline-based solution.
- If it’s your first time, ensure you practice on perm rods before committing.
- Use a rod size smaller than the curl you are aiming for
- Wind hair tightly in clean sections, and use a kitchen towel to blot hair before rinsing off the waving lotion.
- Permed hair is very porous after a perm, so be prepared for it to feel different; it may feel frizzy and damaged. However, the hair will settle within a week.
- Avoid curling tongs or a straightening iron for about a month. However, you can use heated rollers.
- Ensure you have prepared an after-perm hair care routine.
Do you know the difference between a cold curl and an Asian curl?

via Best of Korea
An Asian perm and cold perm are ideal for waves or curls for your straight hair. Nonetheless, the curls created by a cold perm are looser when the hair is dry and more defined when the hair is wet or damp.
On the other hand, a digital perm’s curls are more noticeable with dry hair. The curls are also easy to maintain since they are tighter when the hair is dry.
A chemical is used to break down hair bonds to achieve this look.
The hair is sectioned, and perm rods are used to curl it. The curlers are connected to a device with a digital temperature and time regulation display.
A cold perm uses an alkaline solution to break down hair bonds on the hair wrapped around perm rods. The lack of heat in the cold perm’s process is solely responsible for its name.
Benefits of Asian Perm

via Best of Korea
- Lasts longer
- Low maintenance
- Has a perfect and more natural blowout
Negatives of Asian Perm
- It may not produce the required volume since the heated curlers can’t reach the scalp.
- The process is time consuming than the traditional perms
- It’s more expensive than cold perms
- Asian perm is suitable only for thick, healthy hair; it’s not ideal for all hair types.
Benefits of Cold Perm
via Atr-Noise
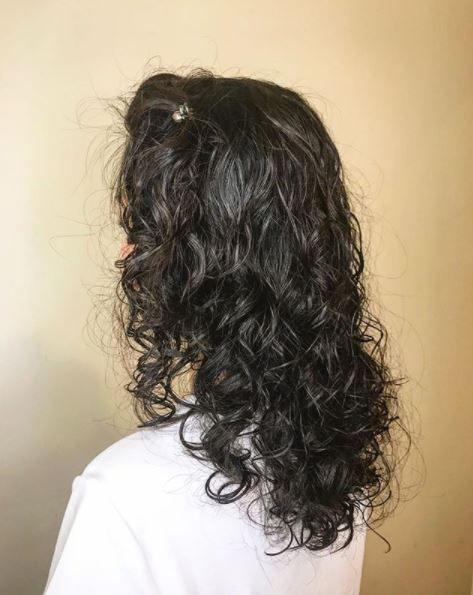
- Creates more defined, bouncy, voluminous curls
- Less expensive than Asian perms
- Takes less time than the Korean perm
Negatives of Cold Perm
- Doesn’t last very long
- It may require other styling products
- Curls don’t appear natural
- High maintenance than Korean perm
How Long Does An Asian Perm Last?
via PBL Magazine
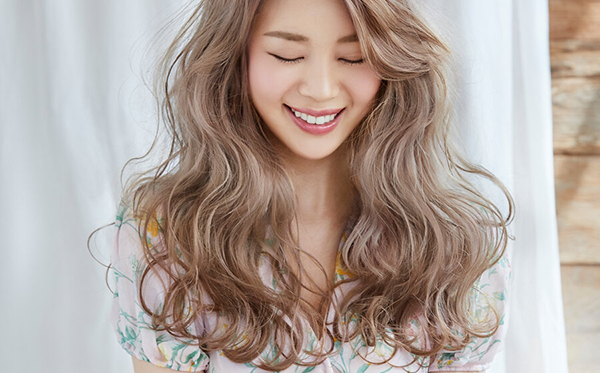
Asian perms generally last up to 6 months.
However, this duration might differ, especially if you have damaged or colored hair. Therefore, avoiding dying your hair before perming it would be best.
Follow the following tips to ensure your Asian perm lasts longer:
- Remove product buildup from your hair using a clarifying shampoo before beginning the procedure. The buildup can prevent your hair from sitting correctly.
- Consult an experienced stylist to help you achieve the Asian perm you desire using the proper chemicals.
- Start with smaller rods to produce a pronounced wave pattern since perms loosen up over time. This makes the curls appear more natural after the perm relaxes, and you don’t lose curls quickly. Still, you can go for beautiful and tousled beachy waves using larger rods.
- Ensure your hair stays untouched and dry during the first 48 hours after the perming process. Let your hair rest for at least 72 hours before washing it for better results.
- Use the right hair products. Avoid silicone or alcohol-containing products, and use a conditioner and shampoo designed specifically for curly hair.
- Don’t use heat styling tools since they break down your hair bonds and destroy your lovely perm.
- Remember that excess humidity will cause frizz; don’t use chlorinated water on your hair.
How Much Does An Asian Perm Cost?
As discussed earlier, Asian perms are more expensive than cold perms.
The cost can be attributed to the fact that the process is more labor-intensive and takes longer than a cold perm. Also, it uses a device for time and temperature regulation. The specific price for an Asian perm, however, is hard to determine.
The price varies depending on where you are located, your hair stylist, and the hair salon you go to. For instance, some Asian perms cost about $50 – $150, while others range from $250 – $500.
Does An Asian Perm Damage Your Hair?
A digital or Asian perm is a chemical treatment that utilizes heat to alter the hair’s structure.
Sadly, this also damages the hair. This is one of the main reasons why Asian perms aren’t suitable for damaged and bleached hair.
A strong chemical solution will severely damage bleached hair, leaving you with an undesirable look.
However, an experienced hair stylist can quickly minimize damage if you have healthy hair. The stylist usually pre-treats your hair to avoid damage. The temperature control from the machine is another factor that minimizes damage to the hair.
The main advantage of Asian perms is they can last up to 6 months, meaning you need only perm twice a year to maintain the look; this also reduces damage!
To keep your hair healthy and hydrated, you should regularly moisturize it to counteract the drying effect and frizz caused by the perm.
